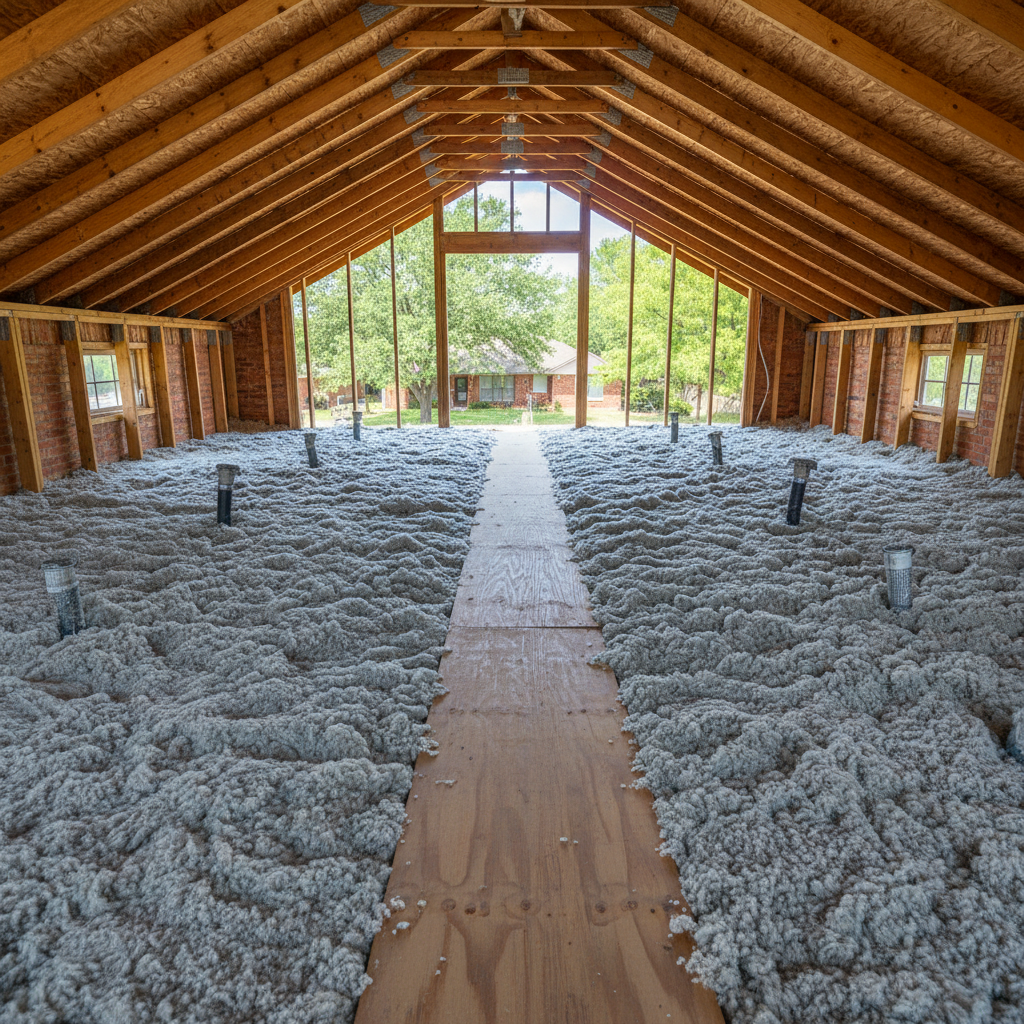
Thinking about getting blown-in insulation for your home? That's a smart move, especially with our Texas summers and those occasional winter freezes, right? But before you jump in, you've probably got questions about how it all works. I've been doing this for a long time here in Irving, and I want to give you a clear picture of what to expect.
Project Timeline: What to Expect
Let's talk about how long this whole thing takes. From your first call to us packing up our truck, it's usually a pretty quick process on our end, though there are a few steps involved.
- Initial Contact & Quote: You call us, and we set up a time to come out. We'll inspect your attic, take some measurements, and discuss your options. This usually happens within a few days of your call. The on-site visit takes about 30-60 minutes. We'll get you a quote, usually right then or within 24 hours.
- Scheduling the Work: Once you give us the go-ahead on the quote, we'll get you on the schedule. Depending on how busy we are, this could be anywhere from a few days to a couple of weeks out. We always try to work with your availability, of course.
- The Installation Day: For most homes, putting in blown-in insulation takes one day. We're usually in and out within 4-8 hours. It really depends on the size of your attic and how much prep work we need to do.
So, from start to finish, you're generally looking at about 1-3 weeks, with the actual work itself being just one day.
What Happens on Installation Day?
You might be wondering what a crew of insulation guys actually does in your house for several hours. It's not as disruptive as you might think, but it's good to know the drill.
First, we'll protect your home. We lay down drop cloths and runners from your entry point all the way to the attic access. We're not tracking insulation dust all over your floors, believe me. Then, we get to work in the attic. This often involves:
- Prepping the Attic: This might mean air sealing any gaps or holes that let conditioned air escape into the attic. It's a critical step many homeowners overlook, but it makes your insulation way more effective. We might also install baffles to ensure proper ventilation, especially important in older homes around say, the Garden & Medical District, where attic ventilation might have been an afterthought.
- Setting Up the Blower: Our equipment stays outside. We run a long hose up into your attic. This keeps the dust and noise down inside your living space, which is a big plus.
- Blowing in the Insulation: One technician is in the attic, guiding the hose and making sure there's even coverage and the right depth. Another person feeds the insulation material into the blower outside. It's definitely a team effort.
- Cleanup: Once we're done, we clean up any stray insulation, pack up our gear, and do a final check. We want to leave your home as clean as we found it.
You'll hear some noise, mainly from the blower motor outside and some rustling in the attic, but it's not usually loud enough to completely disrupt your day. You can definitely be home while we work.
How to Prepare Your Home
To make things go smoothly for everyone, there are a few things you can do before we arrive:
- Clear the Path: Make sure the path to your attic access is clear. If it's in a closet, empty it out. If it's in a hallway, move any furniture that might be in the way.
- Remove Valuables: If you have anything stored in your attic that you don't want covered in a light dusting of insulation, it's best to remove it beforehand. We try our best to avoid it, but some dust is inevitable.
- Protect Sensitive Items: If you have any highly sensitive electronics or artwork near the attic access, you might want to cover them with a sheet.
- Pets & Kids: Keep pets and small children away from the work area. It's safer for them and lets us work more efficiently.
- Access to Outlets: We'll need access to a couple of electrical outlets, usually one inside and one outside for our equipment.
That's about it. We handle the heavy lifting and the dirty work.
Questions to Ask Before You Sign
You're making an investment, so you should feel completely comfortable with who you hire. Don't be shy about asking questions. Here are a few I'd recommend:
- Are you licensed and insured? This is non-negotiable. You want to make sure the company is legitimate and that you're protected. Irving Spray Foam Insulation is fully licensed and insured, of course.
- What type of blown-in insulation do you use? There are different materials (cellulose, fiberglass). Understand the pros and cons of each and why they recommend a particular one for your home.
- What R-value will you achieve? R-value is the measure of thermal resistance. You want to know what R-value they're aiming for and if it meets or exceeds current recommendations for our climate zone.
- Do you include air sealing? As I mentioned, air sealing is crucial. If they don't include it or offer it as an add-on, ask why.
- What's your warranty? Ask about both the product warranty and the labor warranty.
- Can you provide references? Any reputable contractor should be happy to give you a few names of past clients.
- What's the total cost, and what's included? Make sure the quote is all-inclusive. No hidden fees.
Getting new blown-in insulation is one of the best improvements you can make to your home's comfort and energy efficiency. Do your homework, ask the right questions, and you'll be glad you did.